Snowman Ornament – 3D Printed Teacher Gift

Dear Teacher,
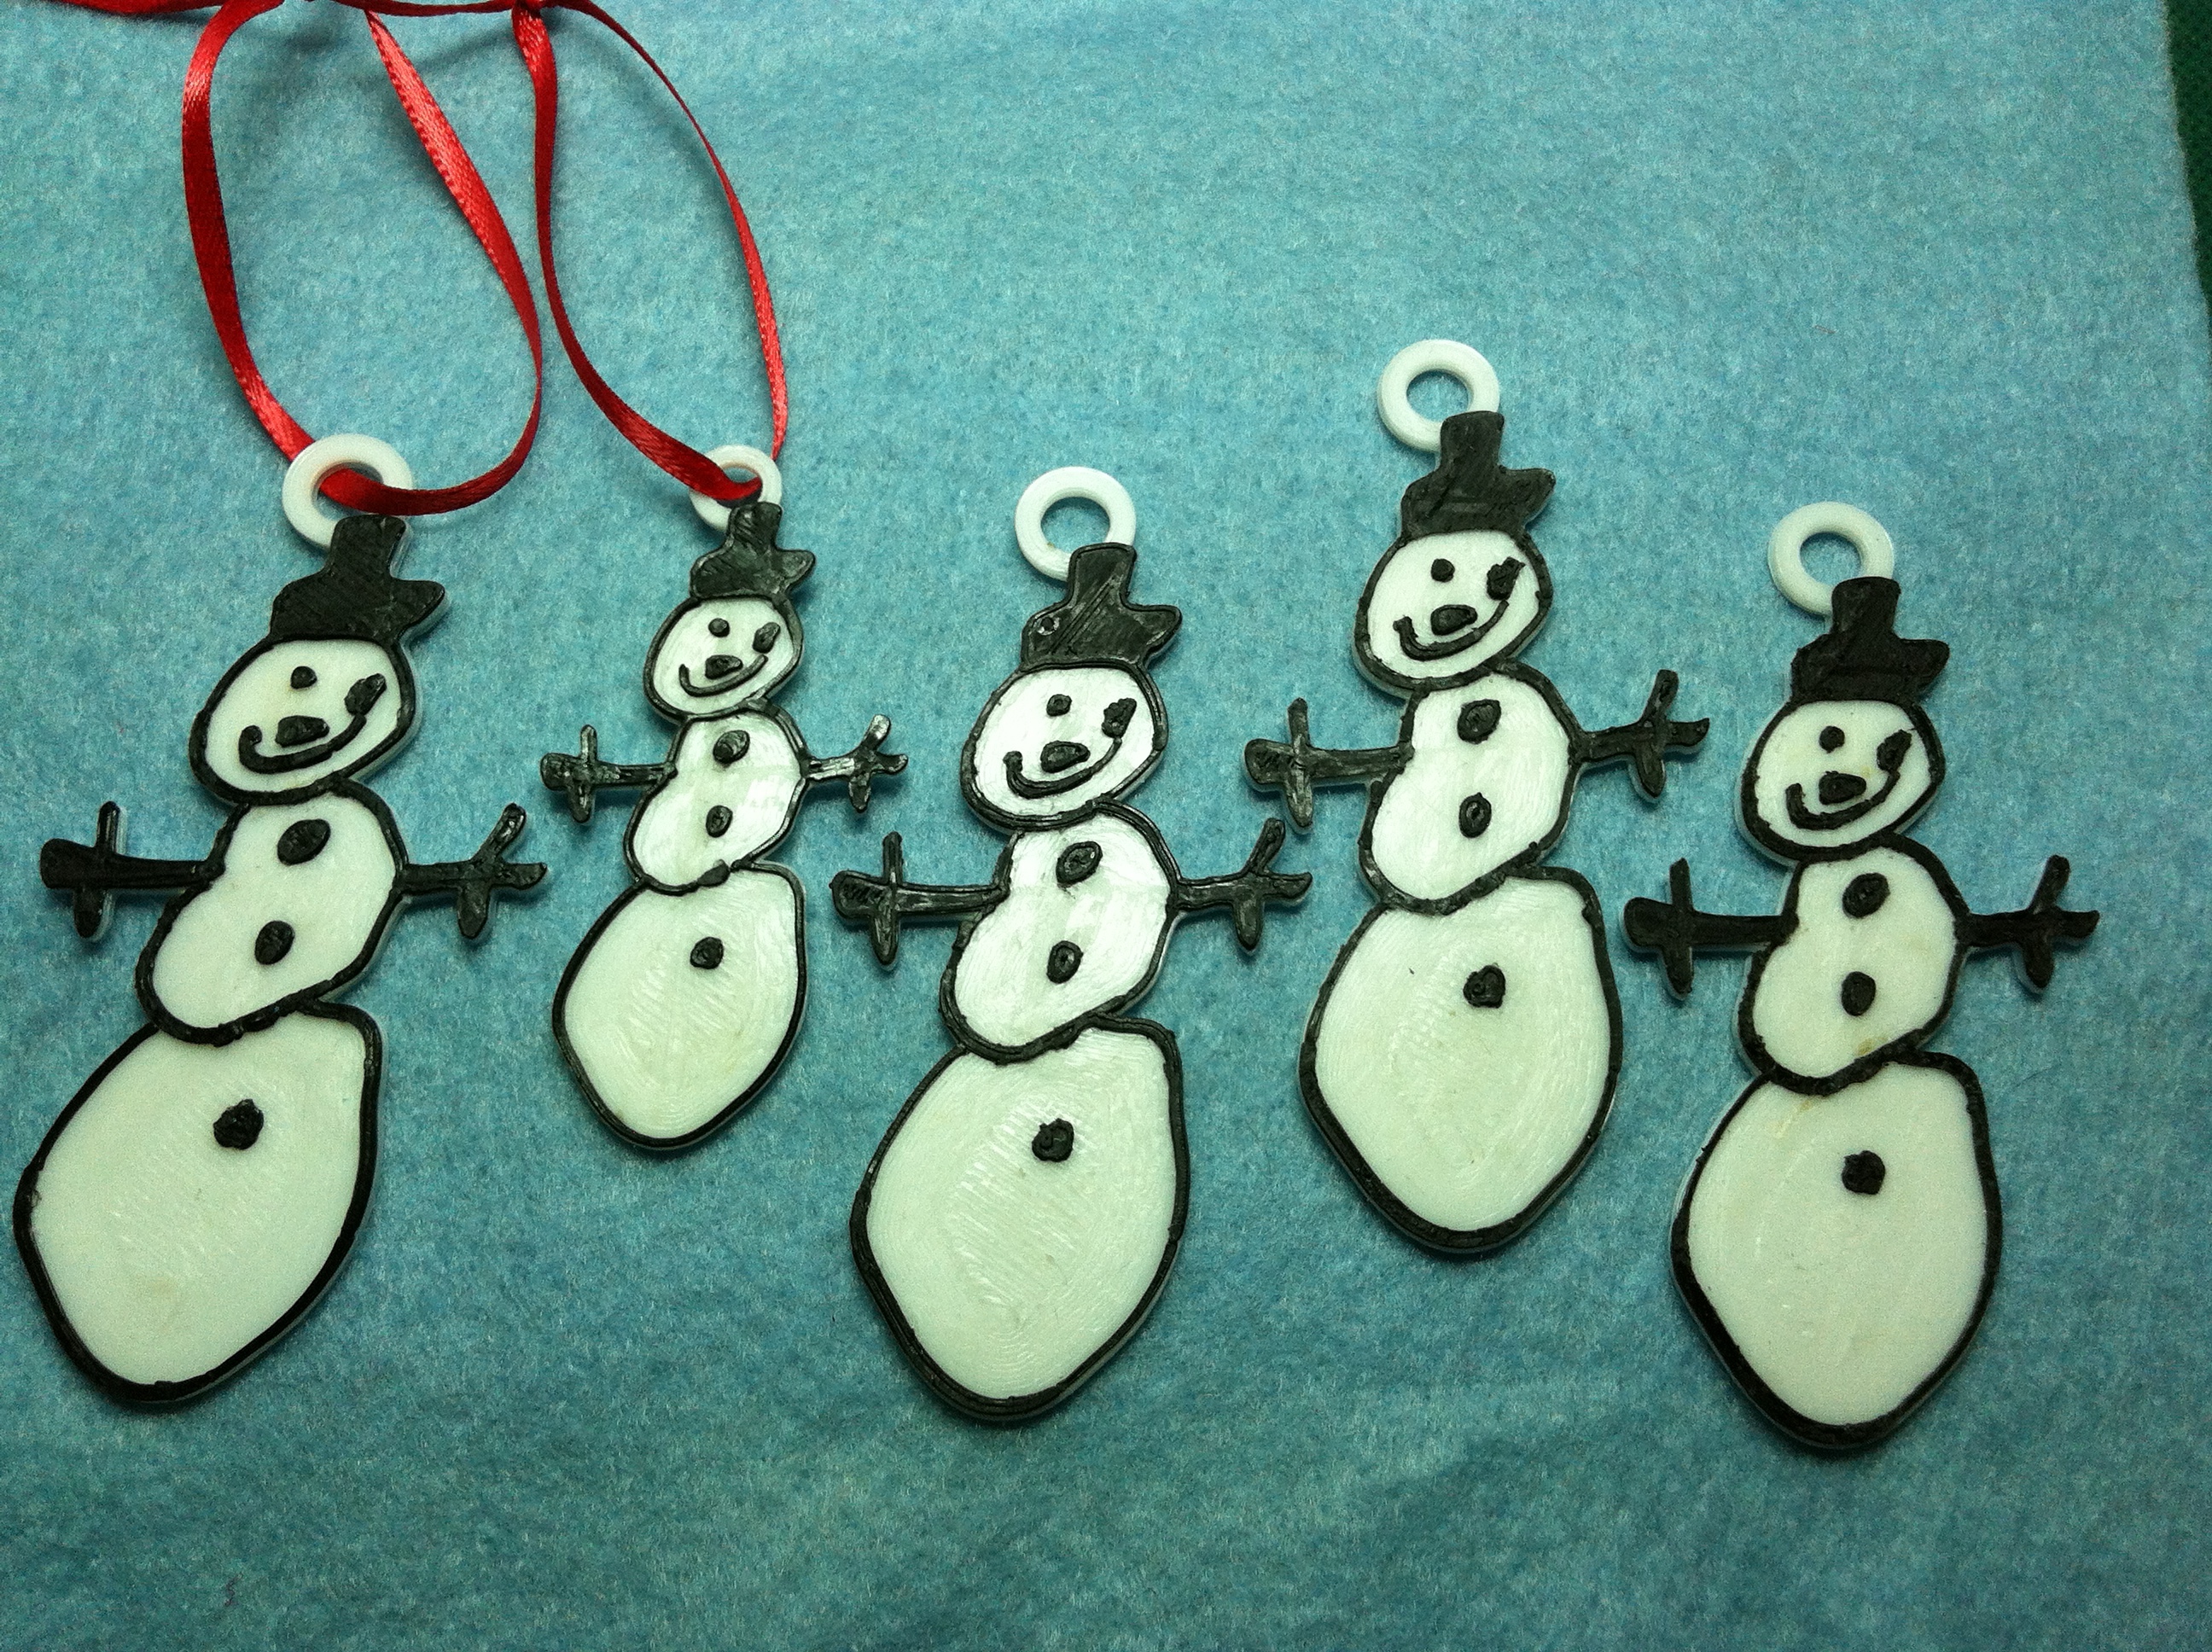
The snowman ornament attached to your present was 3D printed.
-The snowman design was hand drawn using a vector drawing program called iDraw and a Wacom Bamboo tablet.
-The 2D snowman image was exported from iDraw in .svg format.
-The snowman was then imported into Tinkercad.com and was extruded up to 2.4mm to create a 3D object.
-The snowman has lot of unconnected parts so the outline of the snowman was filled in using iDraw.
-The filled in outline was imported into a free web-based 3D design program called Tinkercad and extruded to 1.6mm to create a base.
-The base and extruded drawing were aligned to create a 3D snowman with all the parts connected to a base.
-A ring was added to make the full snowman ornament.
-Everything was grouped together in Tinkercad and a .stl file was downloaded for 3D printing.
-The .stl file was prepared for 3D printing in a process called slicing.
-The ornaments were printed on a Printrbot Plus model 3D printer.
-The first 9 layers of the base were printed in white filament.
-The print was then paused and the filament was changed to black filament to create all the details.This ornament was designed and printed with love and appreciation for all your hard work and caring support of your students.
Happy Holidays,
DesignMakeTeach and Daughter
Download this ornament and 3D print your own on Thingiverse. http://www.thingiverse.com/thing:205968/
-Inkscape is a free vector drawing program that is available for PC and can be used in place of iDraw.
-An interactive whiteboard or touchscreen can be used to hand draw an image in place of the Wacom Bamboo Tablet.
-A photograph of a sharpie drawing can also be used for this style project. See this excellent post by @mathgrrl http://makerhome.blogspot.com/2013/12/day-109-sharpie-print.html


Please leave a comment or contact me on Twitter @DesignMakeTeach or on Facebook at Facebook.com/DesignMakeTeach. I love to talk with teachers, designers and makers about 3D printing and Learning by Making.
What a great idea. I love the explanations of all the steps involved. A great intro to creating 3d models.
The art classes in my school are interested in 3D printing. This is a good example of technique for bringing the student 2D designs into 3D space.
This is fantastic! We did something similar last year but our students looked at designing stars and Christmas ornaments as gifts. I love the concept and idea of switching the filament mid print for a different affect created with black lines – we experiemented extensively with some of the glow-in-the-dark filament for the decorations (http://3dprintschool.blogspot.co.nz/search?q=christmas) which the students seemed happy with. Our students generally seemed really enthused about the Christmas tie in with the printers and it was a great idea to do with a fesitve theme, as I assume you’ve also done it for other holidays as well.
Myles/@NZWaikato/3DPrintSchool