Design Challenge: Chesapeake Bay Watershed
Challenge: Design and fabricate a Chesapeake Bay Watershed terrain model.

A few months ago, I was asked by a teacher to 3D print a terrain model of the Chesapeake Bay Watershed for a summer STEM camp. She wanted a 3D model to help students understand how water flows into the Chesapeake Bay from a large geographic region. Her students have difficulty making sense of a paper topographic map and she thought a 3D printed model could help. Ideally she wanted the map to be very large, up to 4′ x 4′.

Display at Maryland rest stop on 95.

Geographic region encompassed by the watershed.
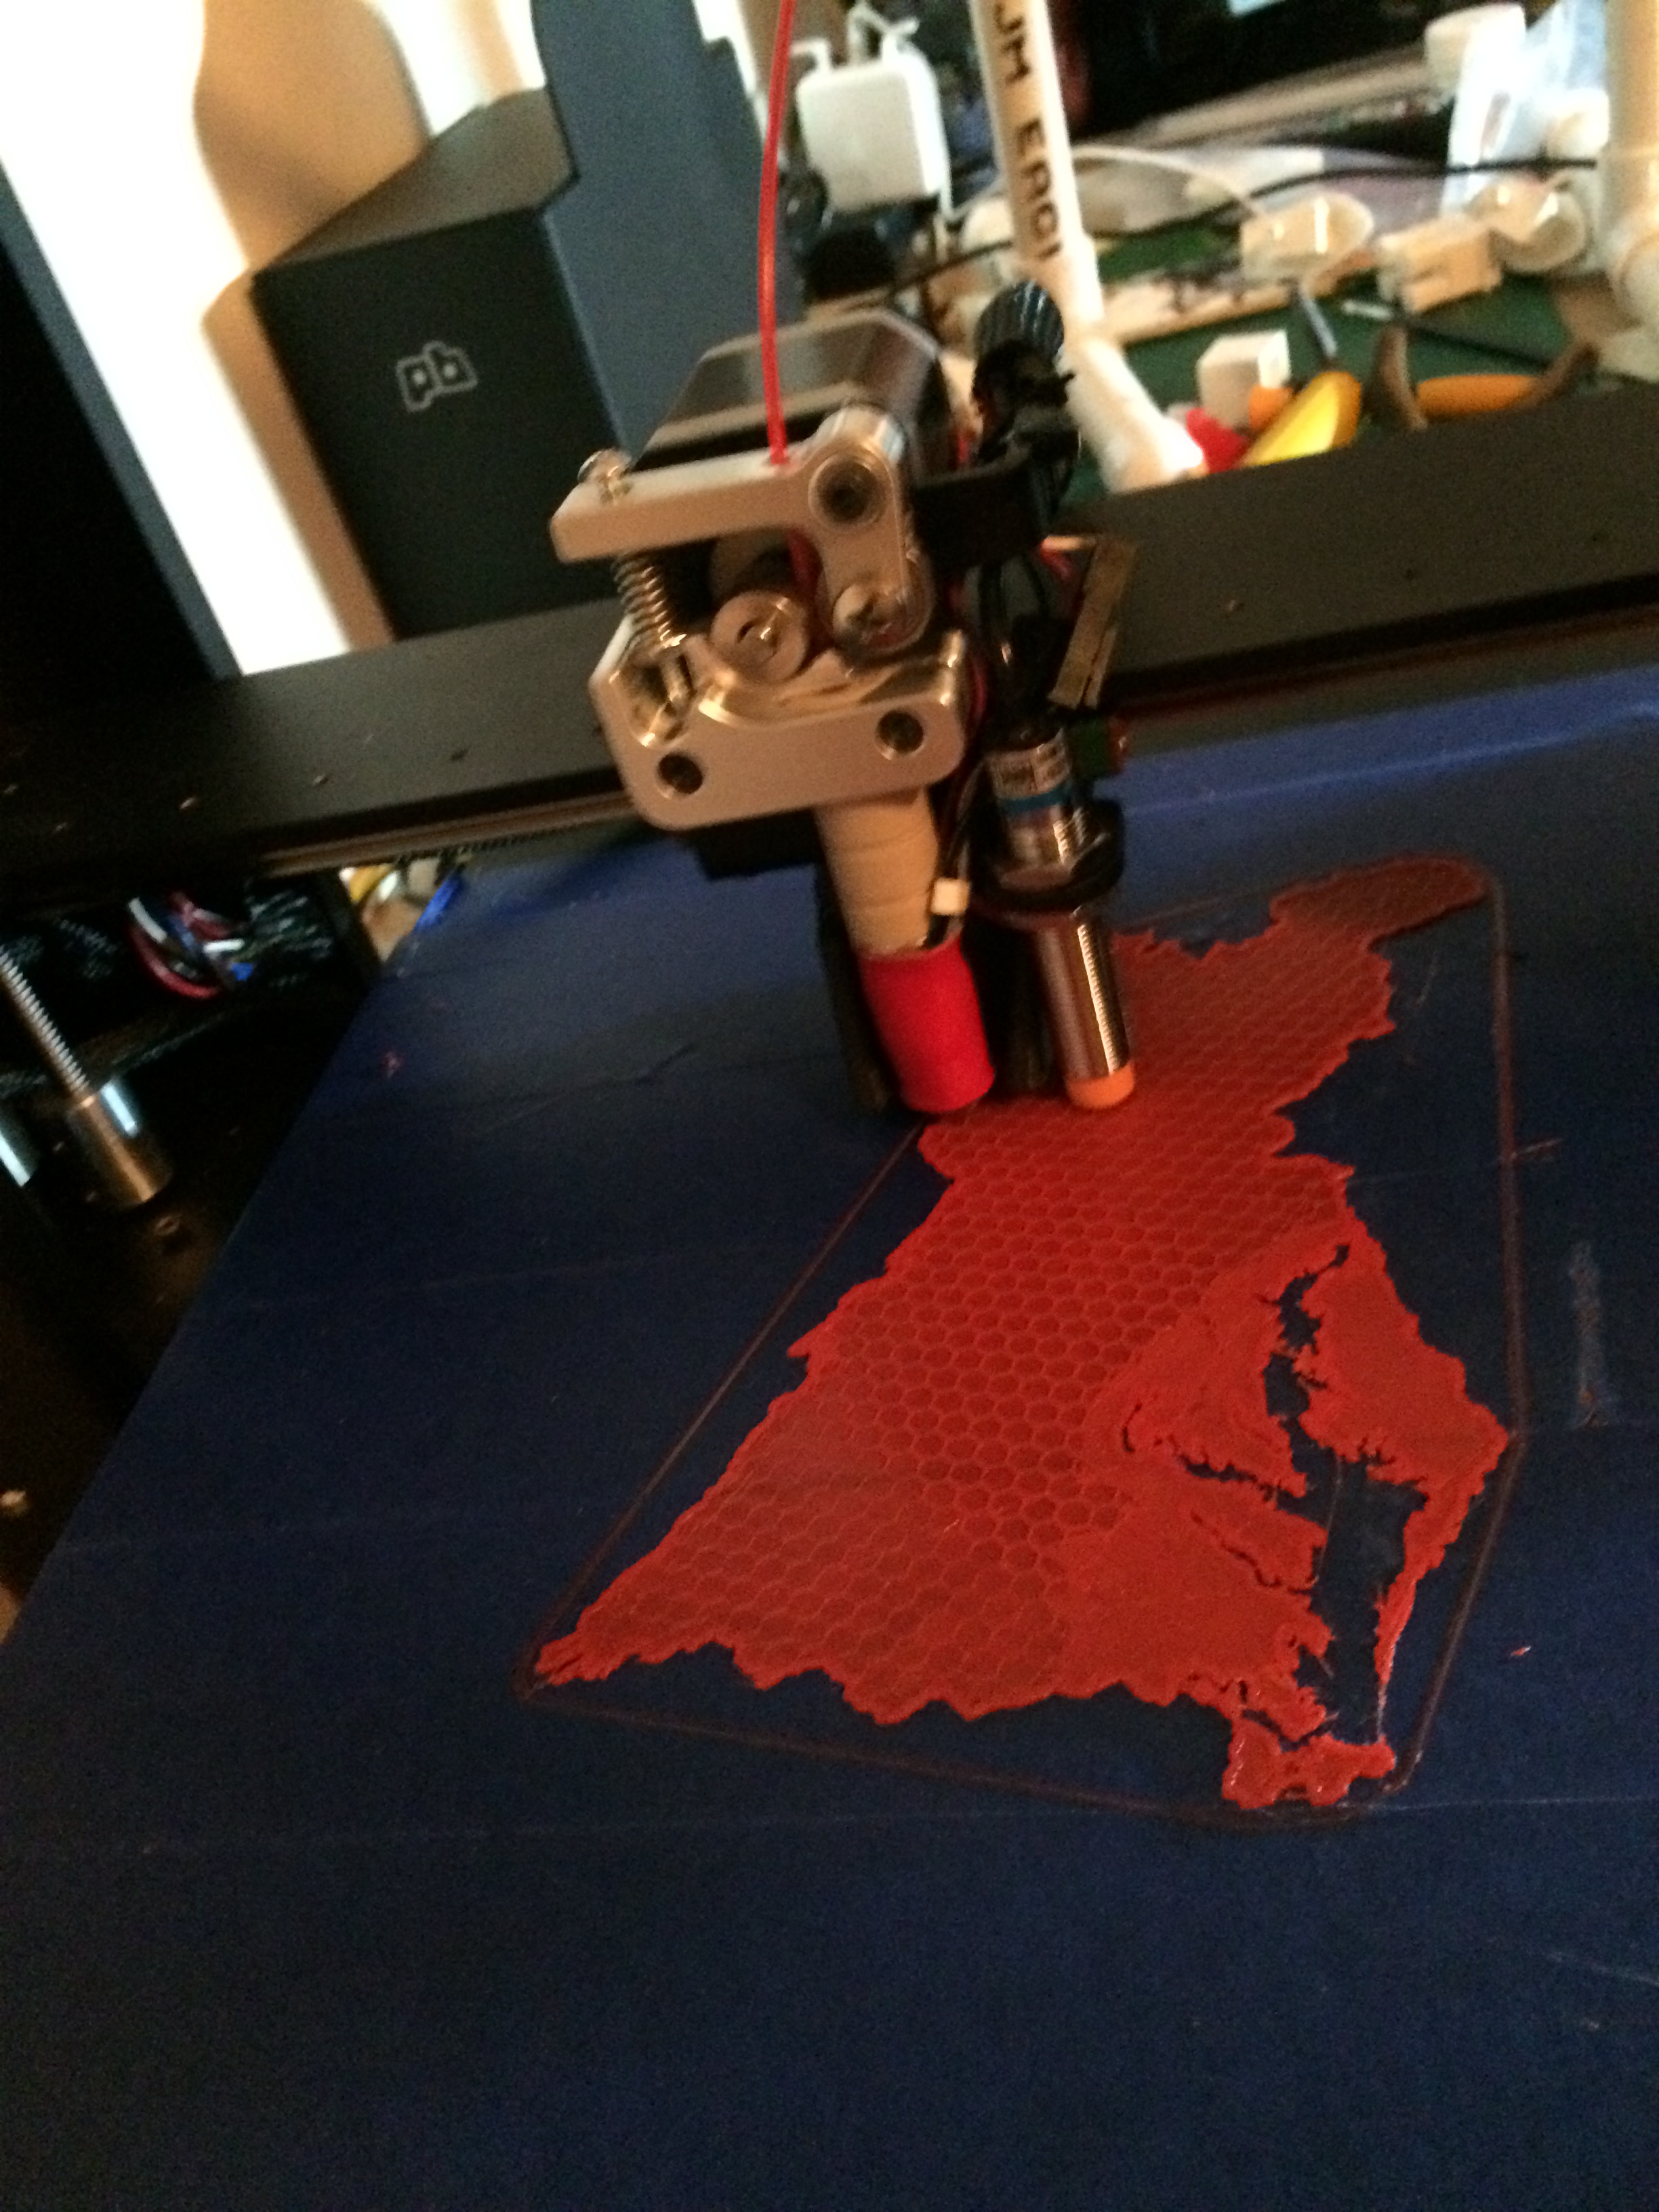
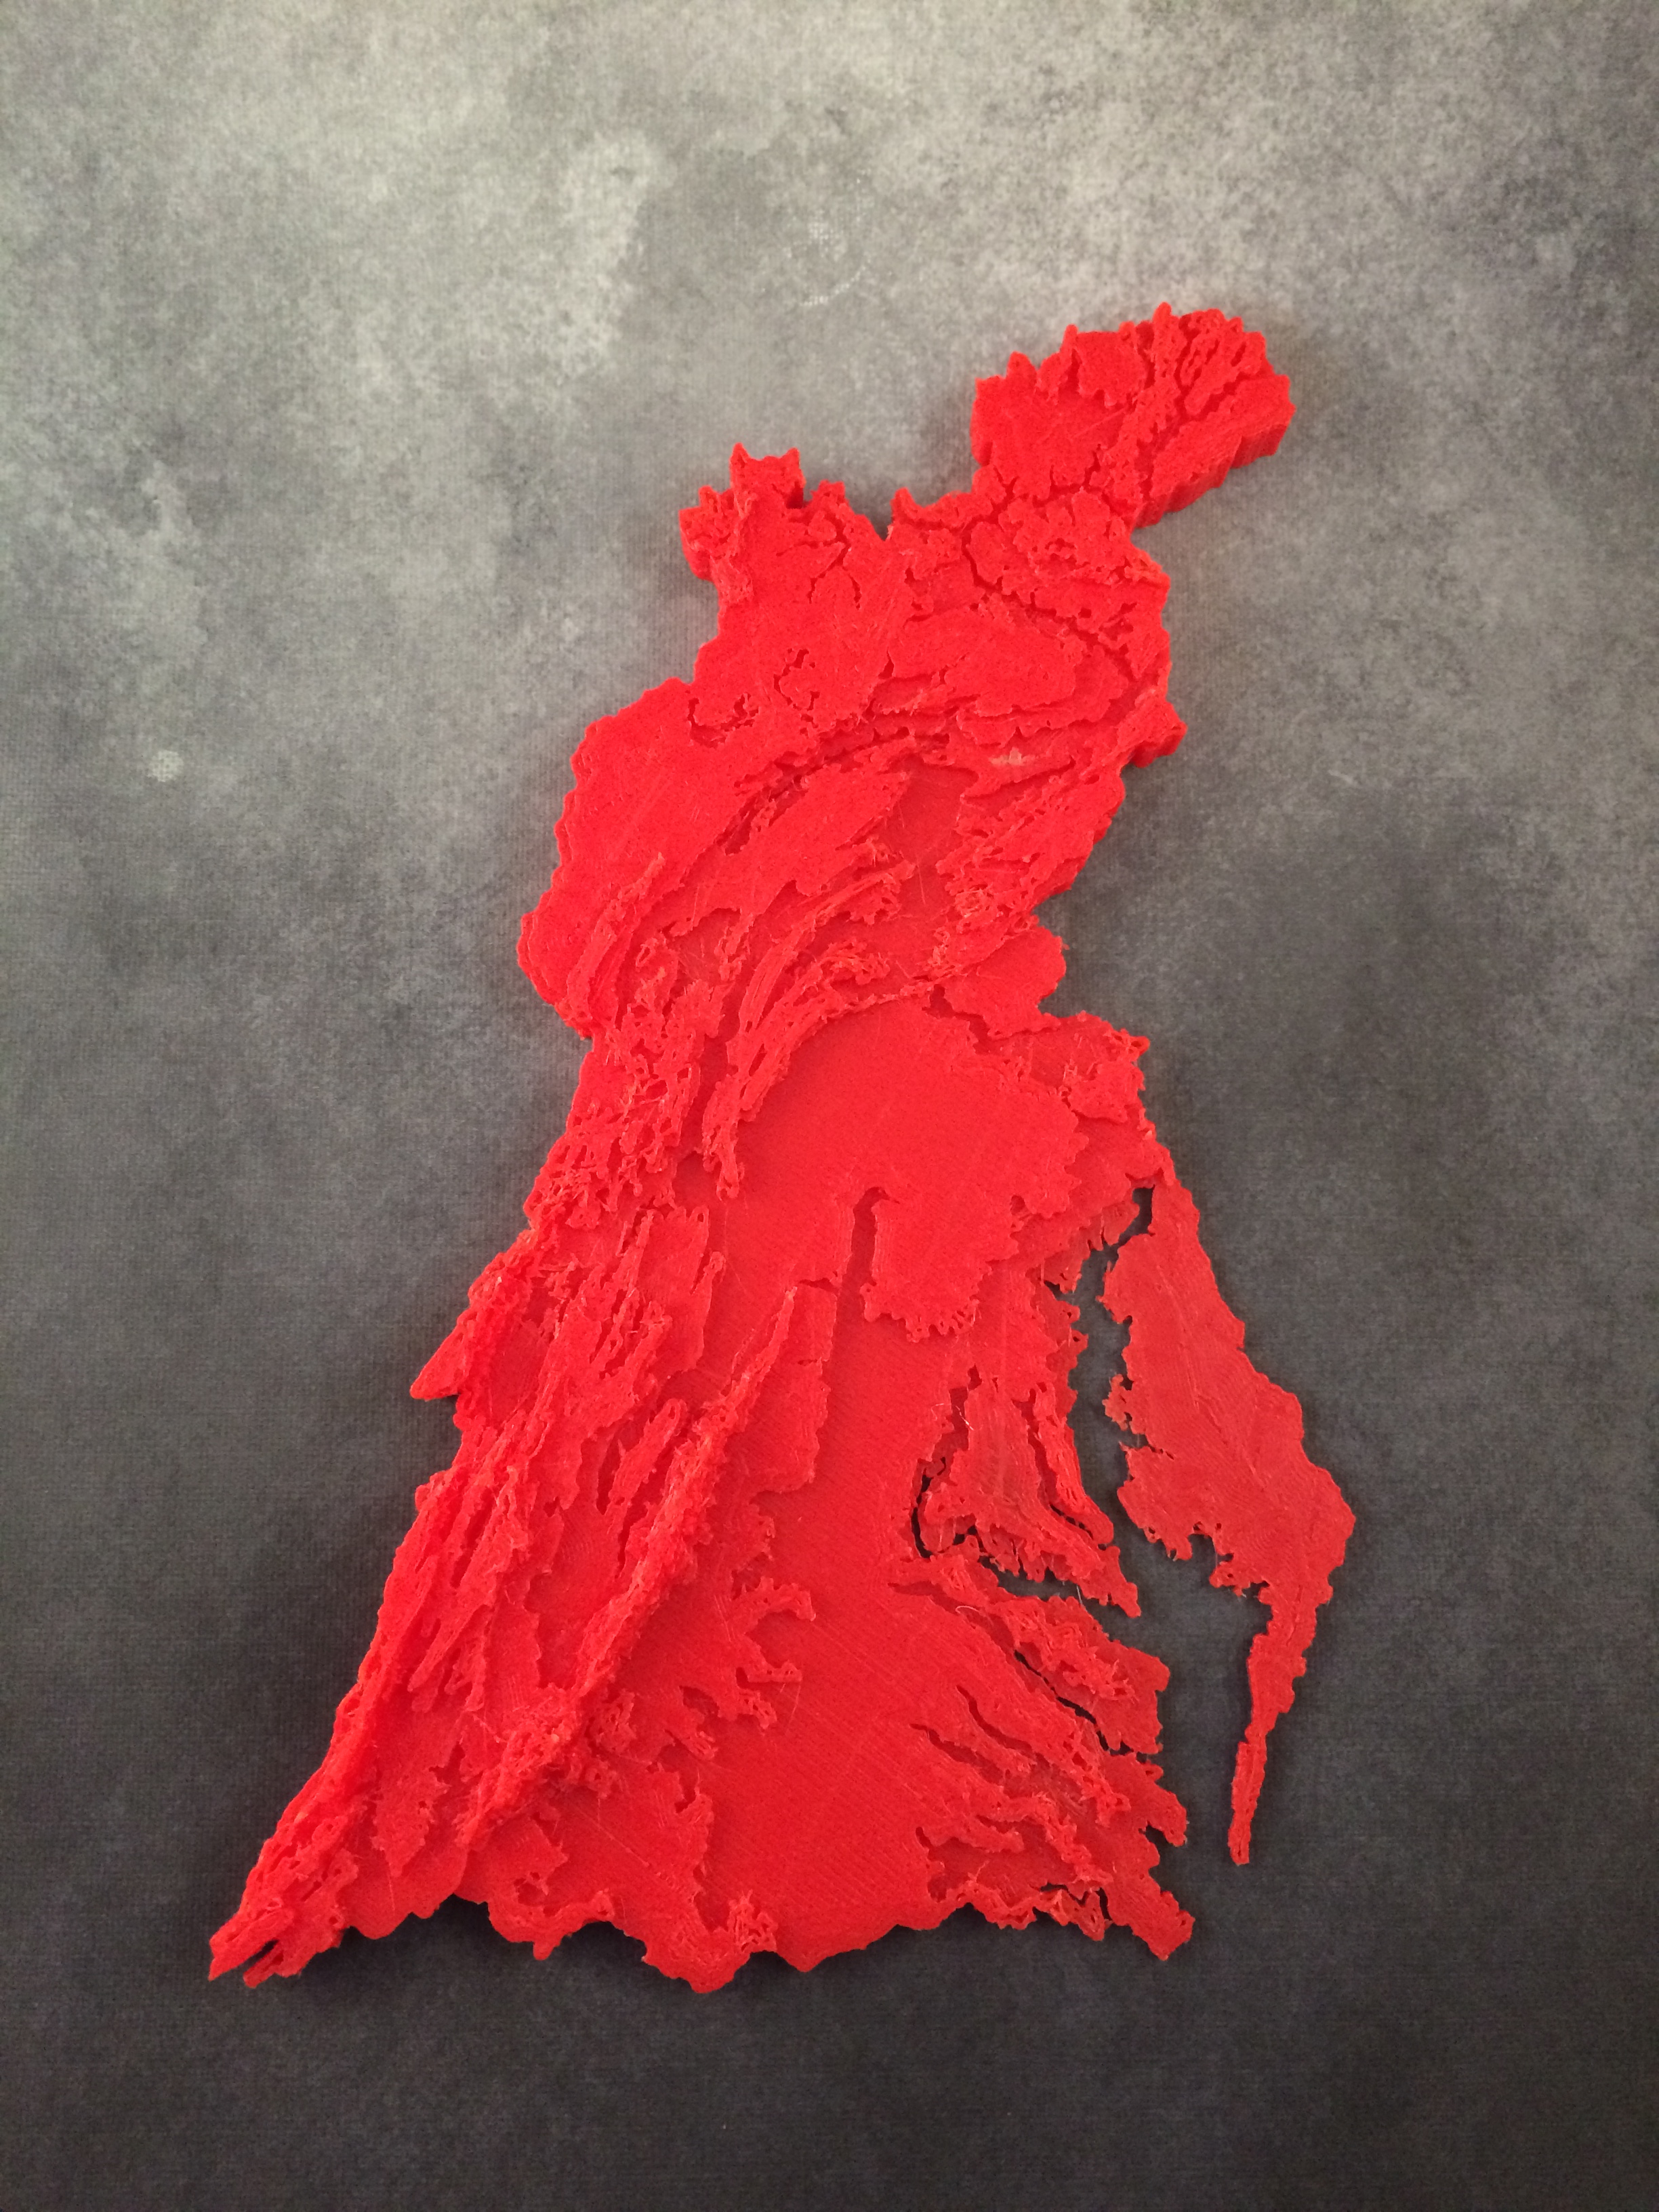
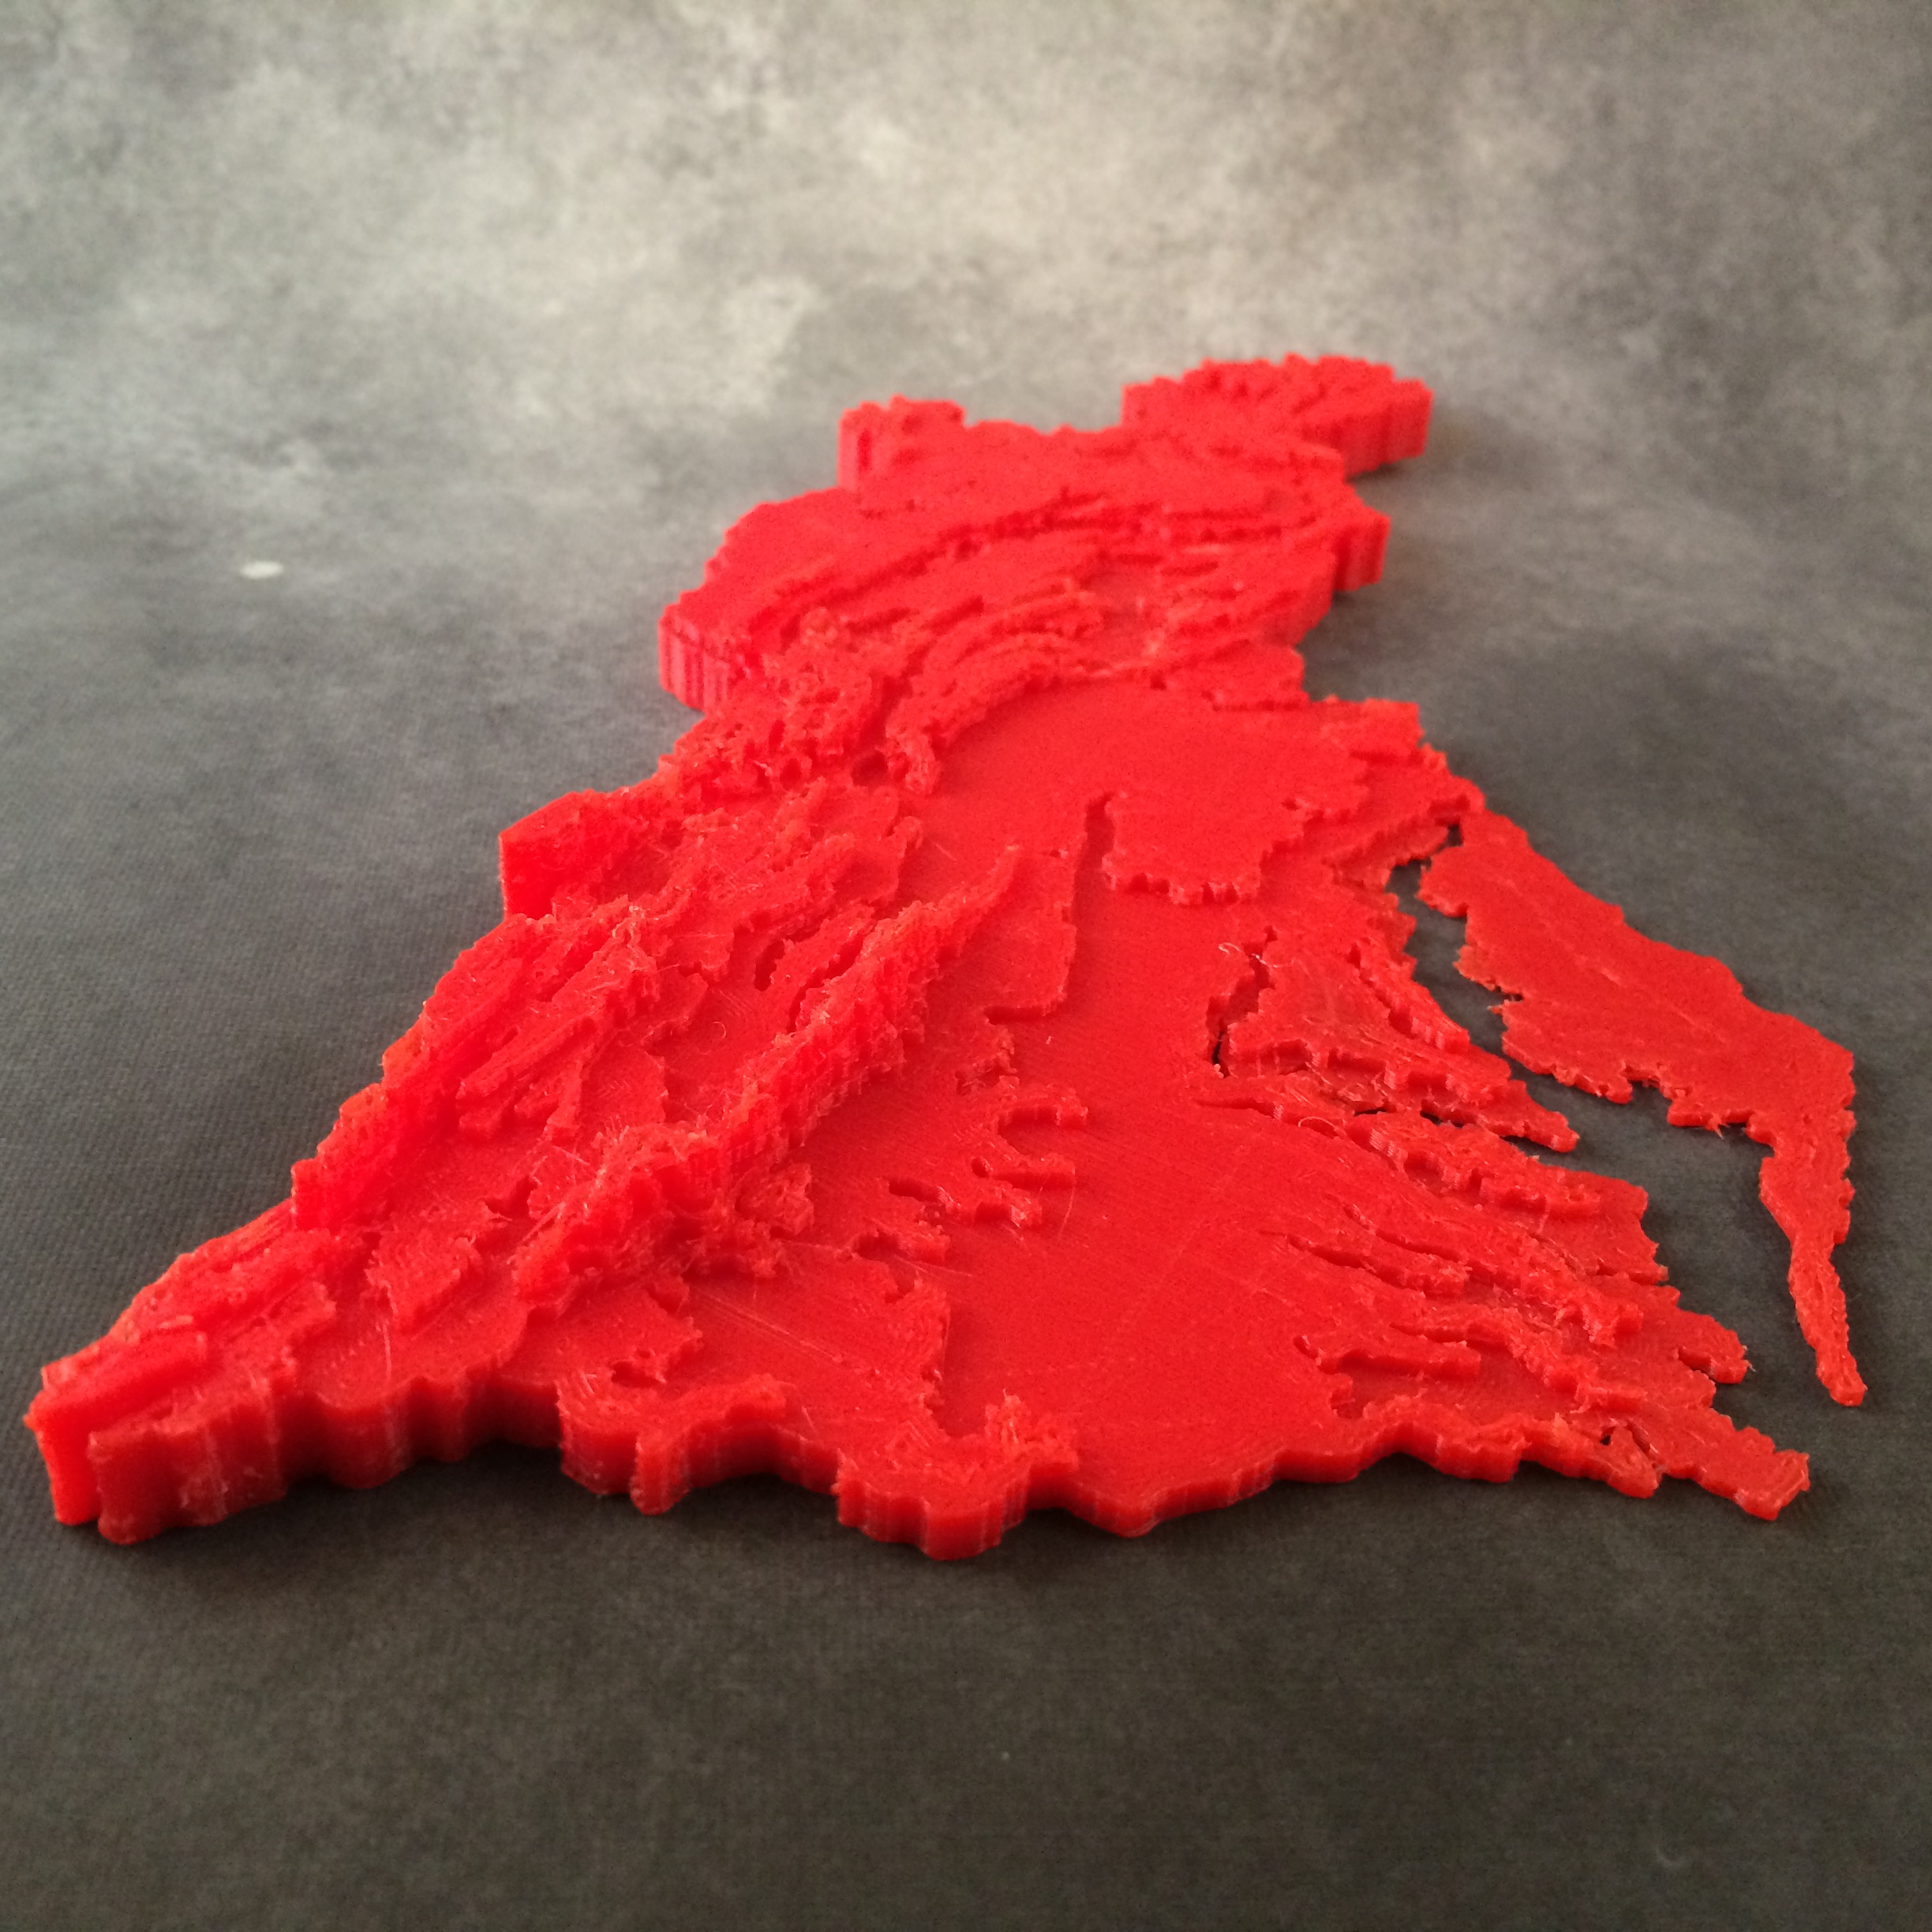
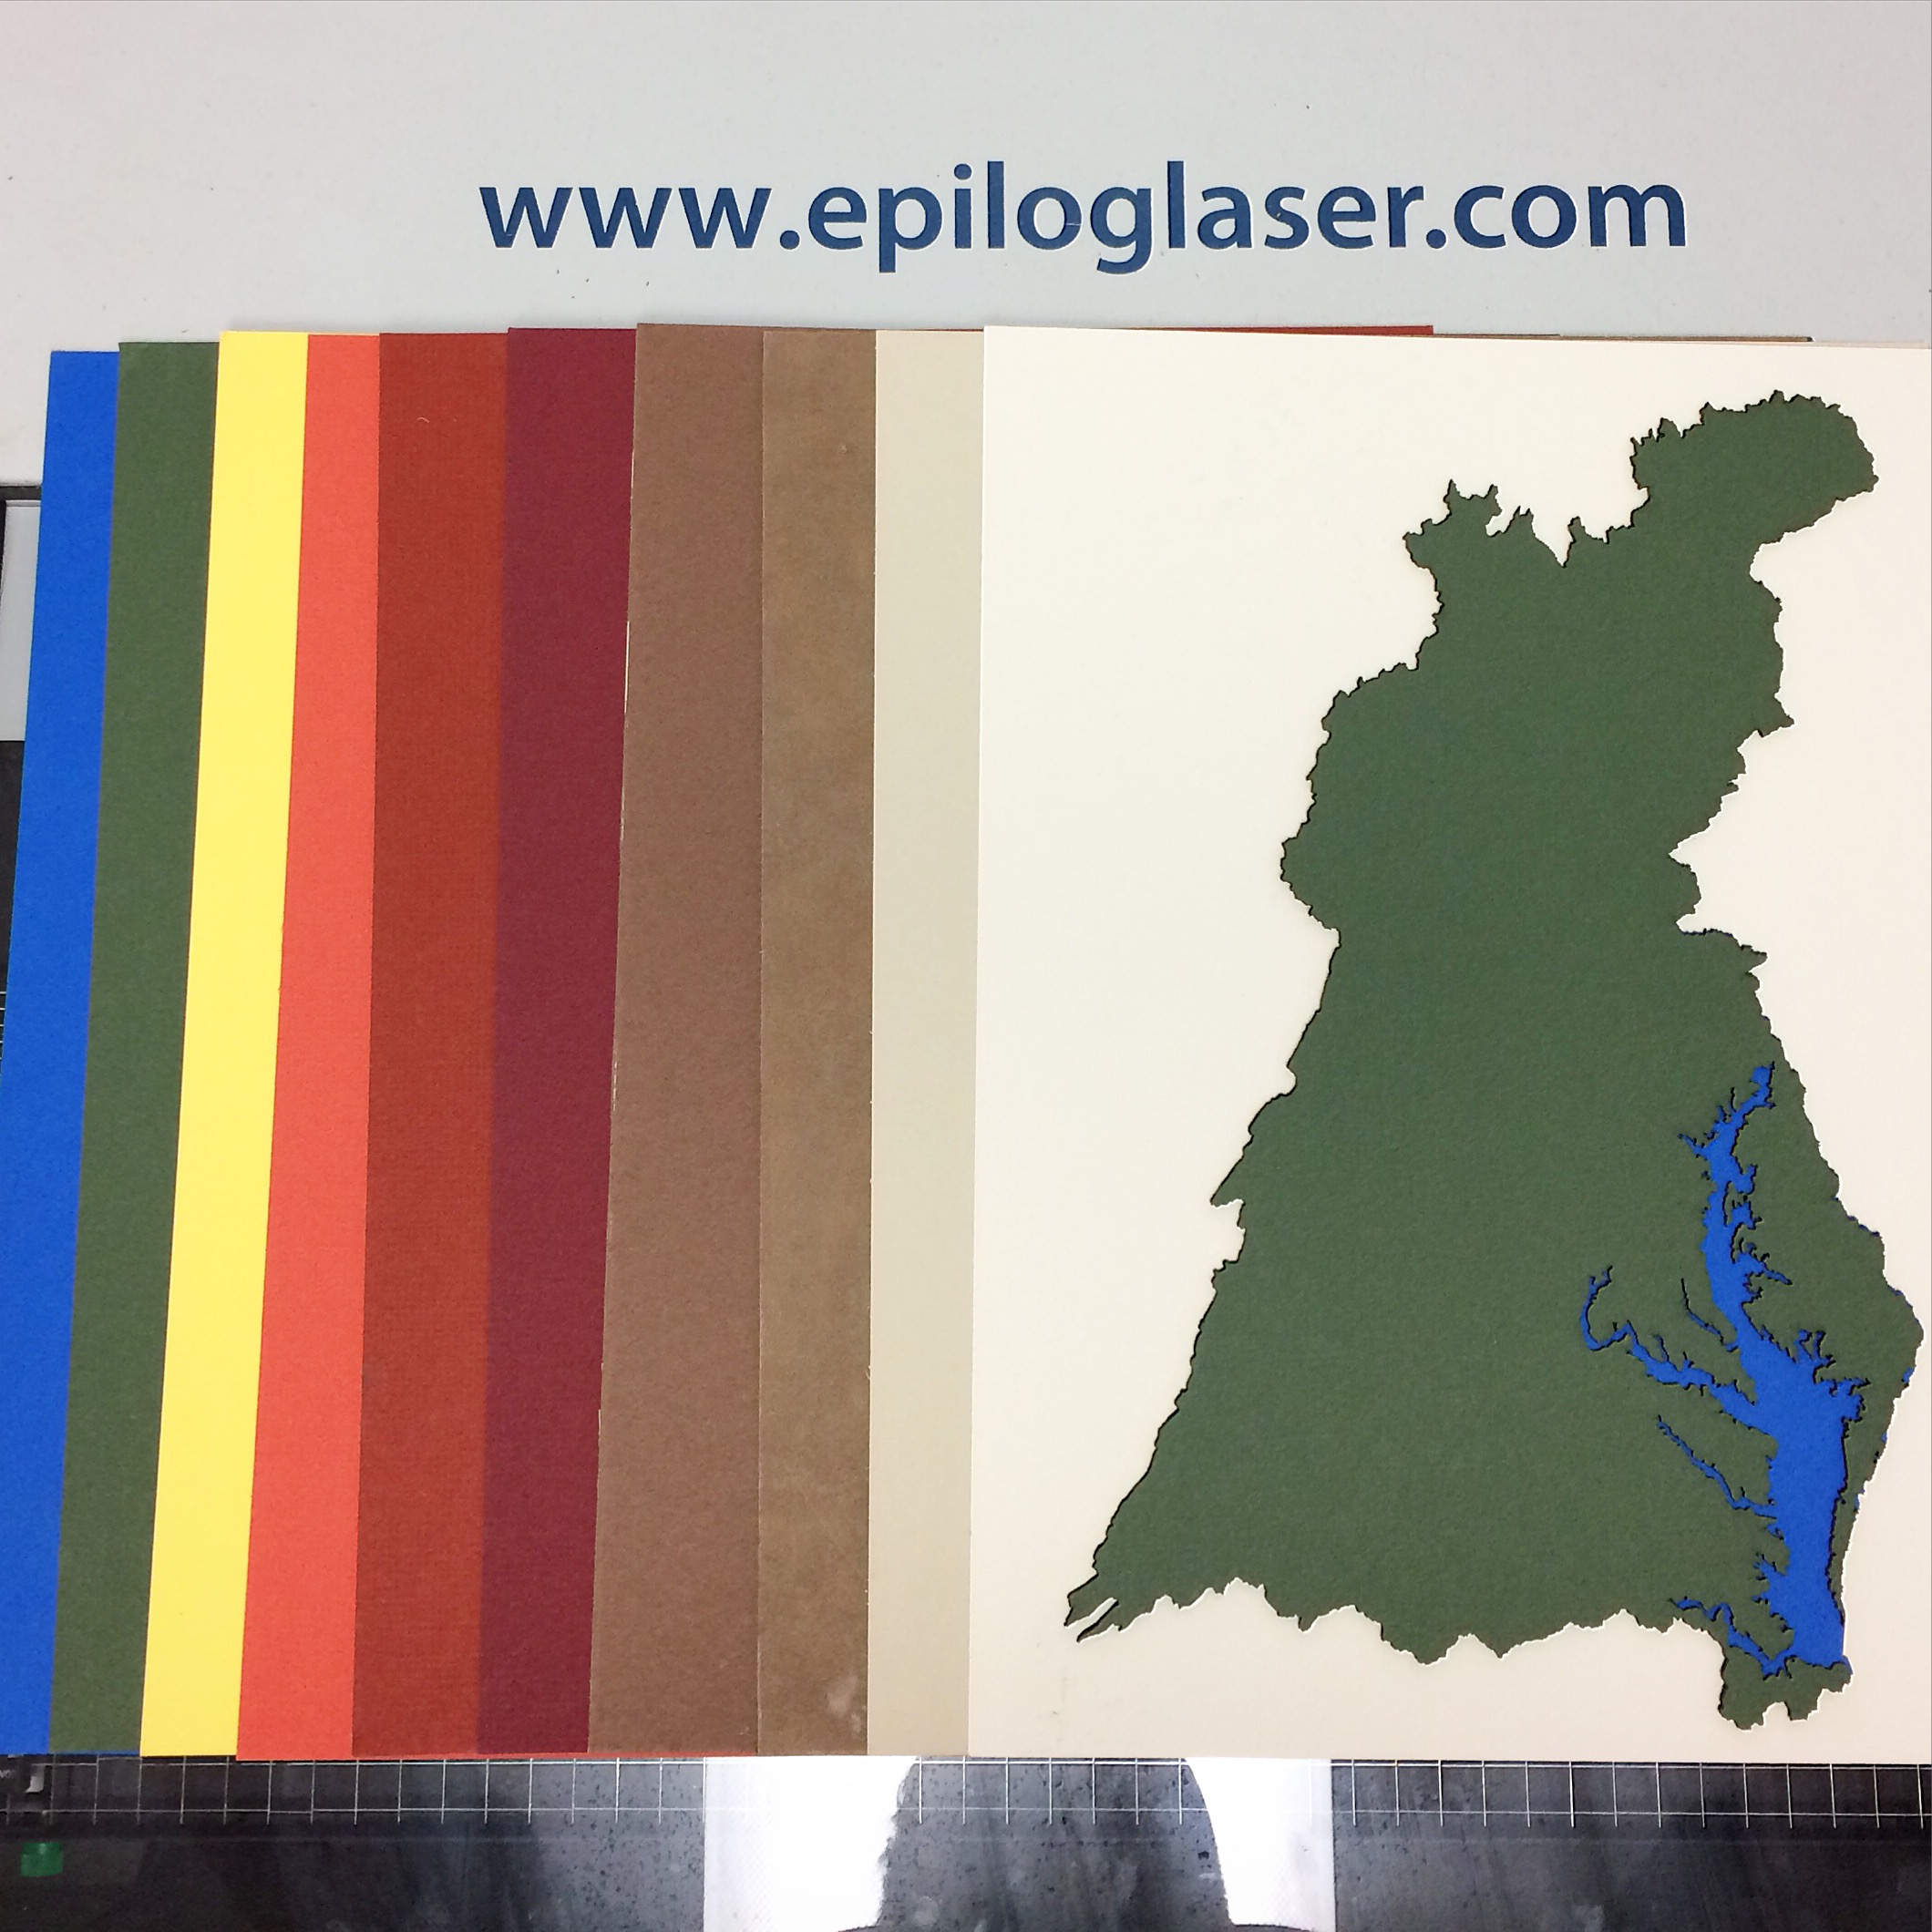
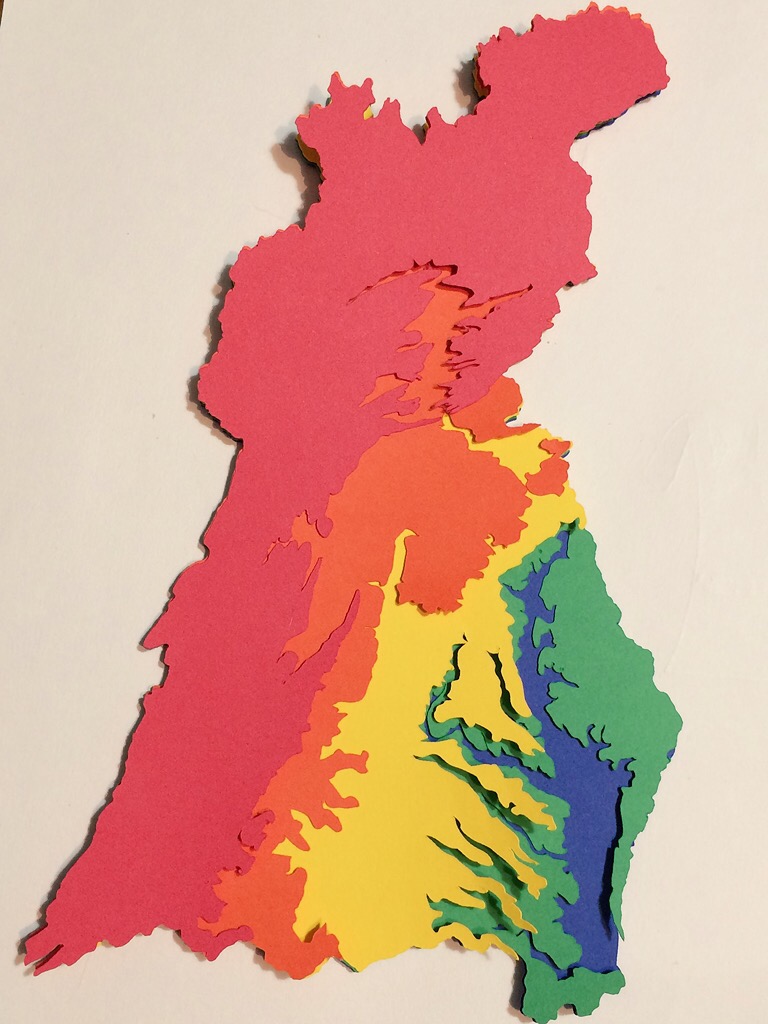
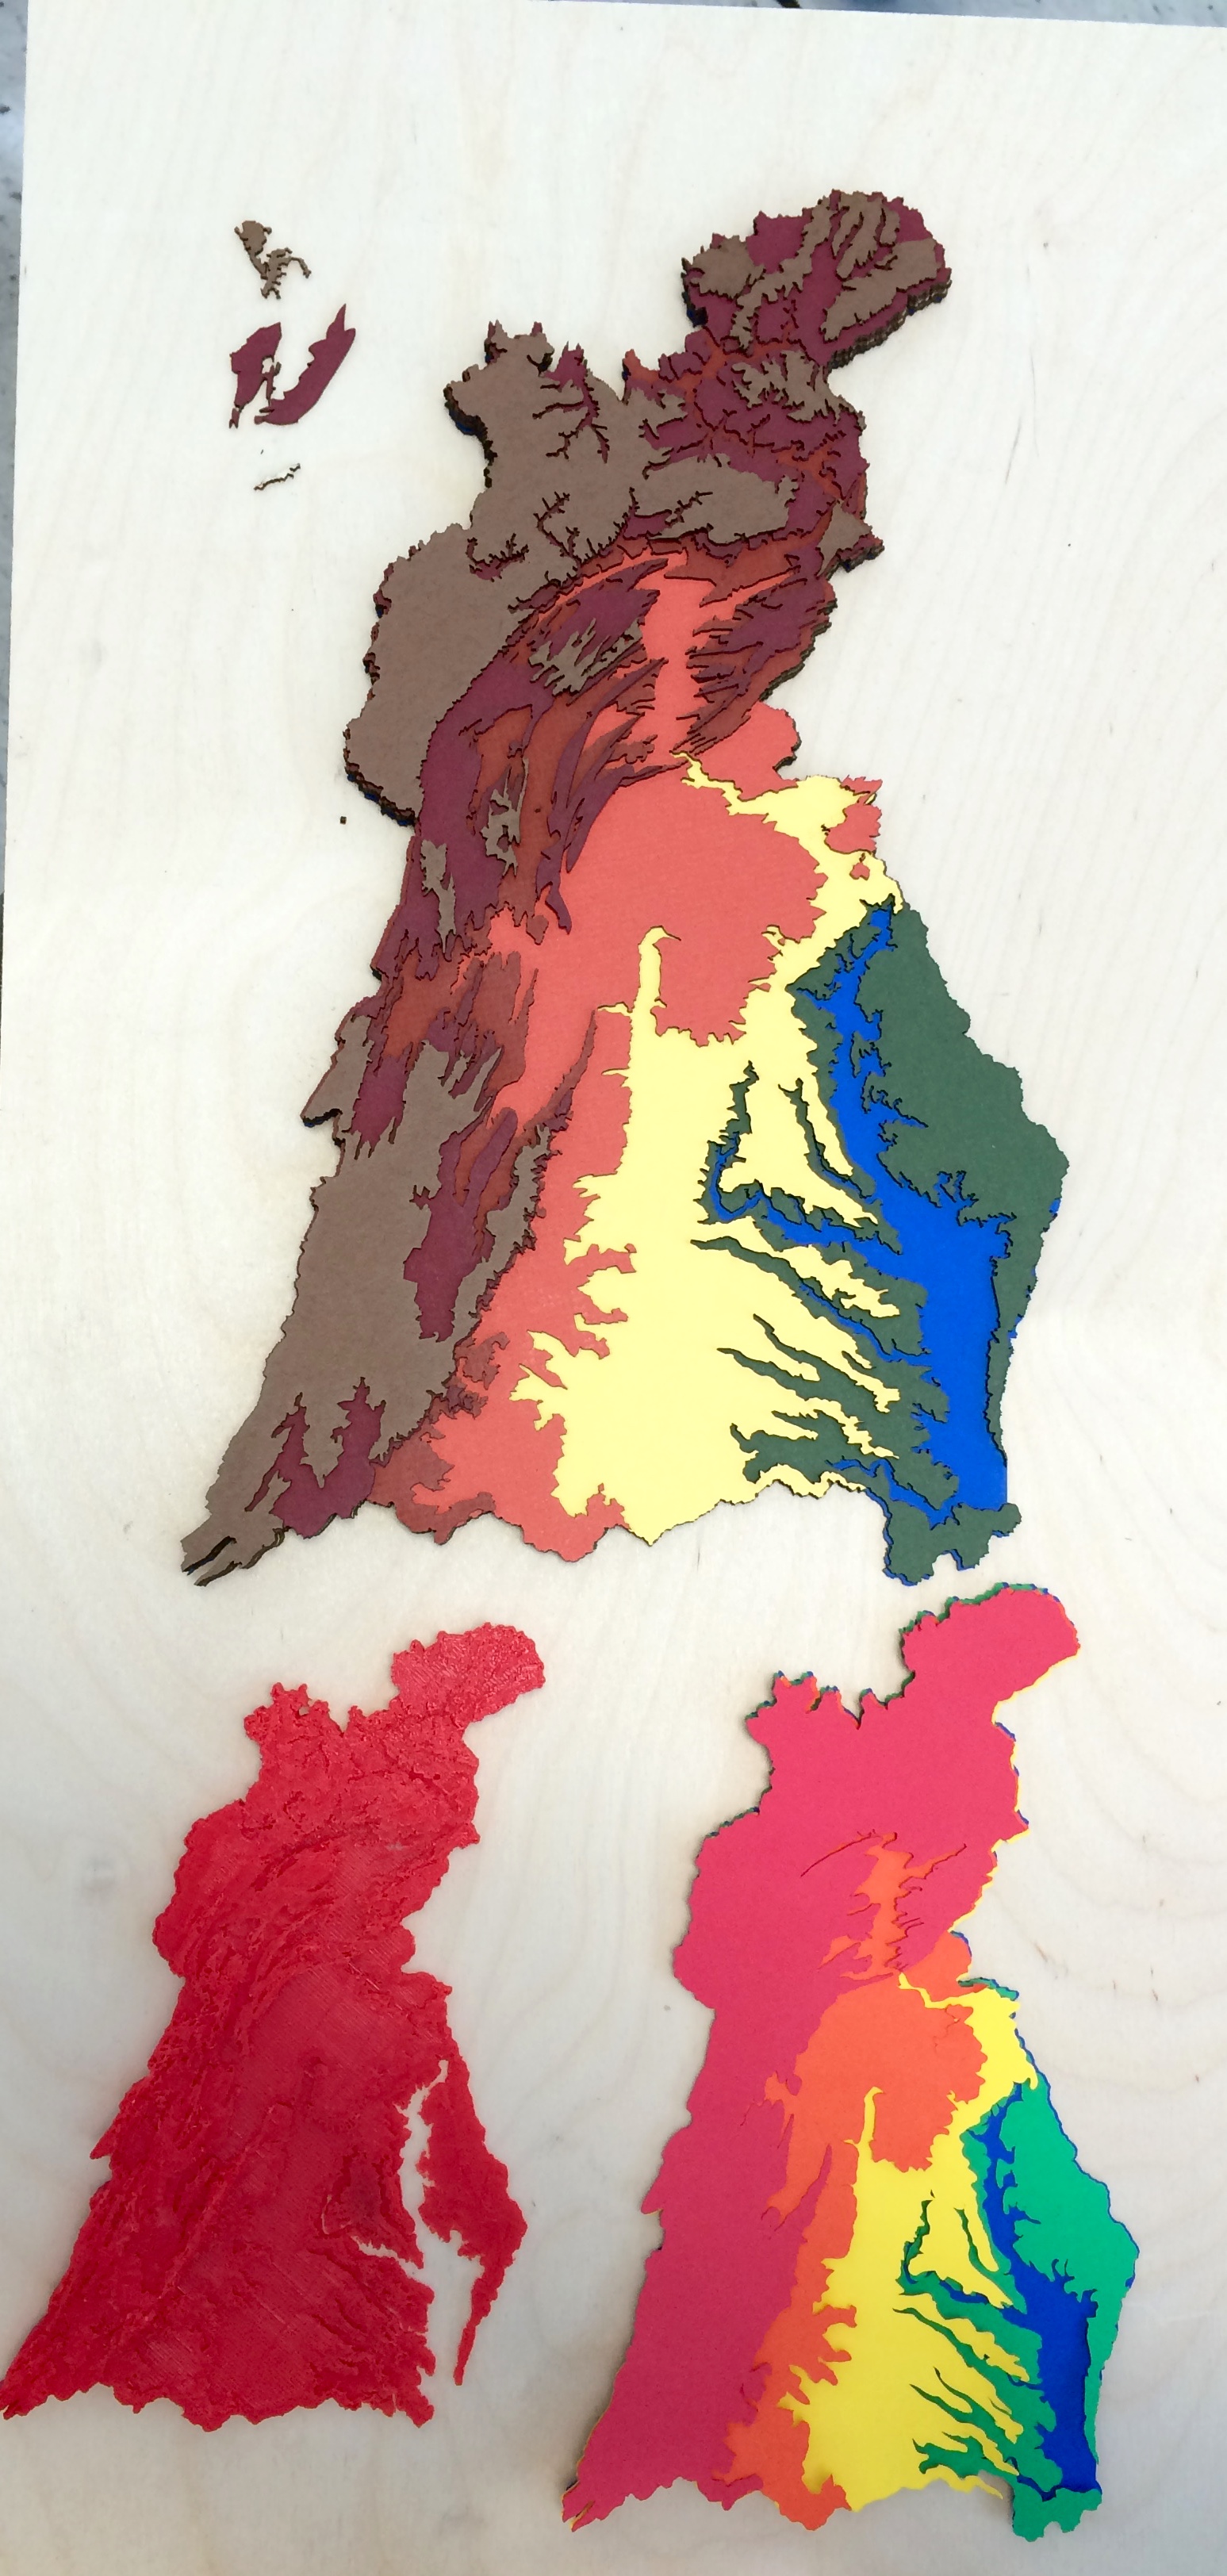
I spent several months trying to find an easy way to create an STL model of the Chesapeake Bay Watershed that I could 3D print. I went through multiple dead ends and have included links and tools I tried in case they help someone else. I asked for help from the local ArcGIS expert and while he investigated he never got back to me with a solution. I finally found a brute force solution that was pretty labor intensive. On the positive side, I was able to create version of the watershed on a 3D printer, laser cutter and paper cutter. I finally settled on a 1 foot by 2 foot model laser cut out of colored mat board to create a beautiful museum quality piece. The STL can be found on Thingiverse http://www.thingiverse.com/thing:908712 and the model can be edited in Tinkercad https://www.tinkercad.com/things/aq5nCOnZCEA.

I would appreciate any assistance in creating a simplified workflow for similar projects. I’ve had several requests for a 3D printable map of the regions of Virginia. (I had a promising conversation with someone from Esri about an ArcGIS workflow at ISTE 2015.)
My Overly Complicated Multi-Step Method
-Download 4200 Arc Second terrain tiles of Chesapeake Bay Watershed area with Terrain2STL web app. (4200 Arc Seconds = 1.16666667 degrees) http://jthatch.com/terrain2stl/
-Arrange and repair terrain tiles in Netfabb Basic. Export individual tiles. (Netfabb Basic does not allow combining STLs.)
-Import and combine repaired tiles into a single STL model in Meshmixer.
-Repair single STL model using Netfabb Basic.
-Reduce model using Meshmixer to reduce file size.
-Convert STL model to SVG slices with Slic3r.
-Create individual files of major shapes contained in layers of SVG file in Illustrator. (Selected 9 equally spaced layers.)
-Clip layer files using outline of Chesapeake Bay Watershed in Illustrator. (Outline extracted from a pdf map at http://www.chesapeakebay.net/)
-Extrude and stack individual layers using Tinkercad.
-Export final STL model from Tinkercad.
-Repair and resize final STL model for print in Netfabb.
Tools & Resources Investigated (Couldn’t figure out how to make these work.)
-3DEM, Accutrans, Grass GIS, TileMill, 123D Design, 123D Make, ArcGis, MeshLab, Autodesk Fusion, DEM2TOPO
http://nationalmap.gov/viewer.html
http://www.arcgis.com/home/item.html?id=556904528c1a494bbf657bf2d78cc404
http://blogs.esri.com/esri/arcgis/2011/12/17/esri-color-ramps-version-30/
http://www.united-states-map.com/topo/midatlantic.htm

http://maps.ngdc.noaa.gov/viewers/wcs-client/
http://www.instructables.com/id/Create-a-Site-Toporaphic-Model-using-a-Laser-Cutte/?ALLSTEPS
ftp://ftp.chesapeakebay.net/Gis/
If I was willing to spend $100 http://www.mapresources.com/usa-maps/usa-contour-maps/usa-digital-vector-contour-map-usa-xx-402112.html
I’m on Twitter or Instagram @DesignMakeTeach or leave a comment.
Hi Josh, Here is my workflow for GIS data http://spolearninglab.com/curriculum/lessonPlans/interdisciplinary/mapping.html
http://spolearninglab.com/curriculum/lessonPlans/interdisciplinary/topo.html
Maybe something in there could work for you.
Liz
>
Thanks Liz, I’ll take a look.
Pingback: An Interview with DesignMakeTeach | Design Make Teach
Pingback: 3D Printing for Civil Engineers | Public Works Group Blog