Easy 3D Design with Clipart
Creating quick 3D models is an essential skill for any educator with a 3D printer. Luckily it is easy to create 3D designs using 2D clipart. The secret is to use vector based clipart files in SVG format. These images can be imported into 3D modeling software like Tinkercad and then downloaded in seconds for 3D printing.
An example is a 3D model I created for a teacher on Twitter.
-I went to clker.com which is my go to site for vector based clipart and searched for Polish eagle. (Wikimedia Commons is another source for SVG format clipart.)
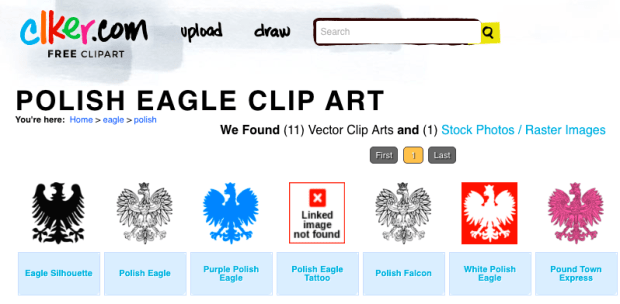
-A number of images were found and I clicked on the first detailed image.

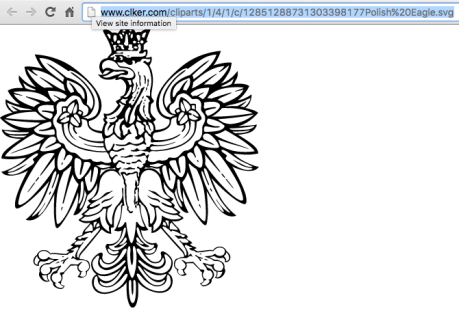
-I clicked the SVG icon and then copied the URL.
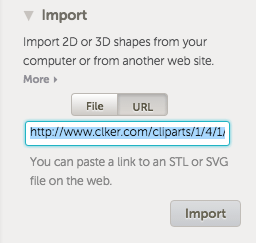
-Next I opened up a new design in Tinkercad and clicked on the Import option and then clicked URL. I pasted the URL of the SVG in the box and then clicked Import.
I resized the model to fit most 3D printers. I held down the shift key while rescaling to maintain the aspect ratio. I made the model public and then tweeted the share link back to the teacher who 3D printed the model for his students.
The great thing about this fast and easy 3D design workflow is it can be done without any 3D software loaded on the computer. The design part can even be done on a Chromebook.
If this 3D design tip works for you, leave a comment or contact me on Twitter @DesignMakeTeach