Quick SVG for DigiFab
A friend is getting started with the Silhouette Cameo vinyl cutter and was trying to cut a vinyl sticker of New Hampshire. He wasn’t happy with the quality of the outline he had found. I was able to send him a much better quality file in a matter of minutes. Here are the steps I took to quickly generate an SVG file that is suitable for a variety of digital fabrication machines from vinyl cutter to laser cutter, 3D printer and CNC.

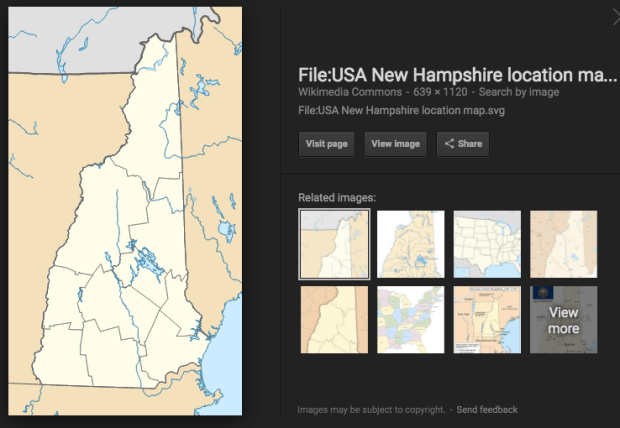
-I started with a Google image search for New Hampshire SVG. The first link was to a Wikimedia Commons image. The license is CC BY 3.0 so the image may be used for commercial work with attribution. Don’t know why Wikimedia Commons doesn’t make it easier to copy and paste an attribution. Image by User: Alexrk2/Wikimedia Commons/CC-BY-3.0
-I downloaded the file and opened it in Illustrator but could have just as easily used the open source program Inkscape.There was way too much detail in the image as my friend just wanted the outline of the state.

-I ungrouped the image and found the outline of the state.
-I copied and pasted this outline into a new document.
-I used File –> Save As –>SVG (svg) to save the file.
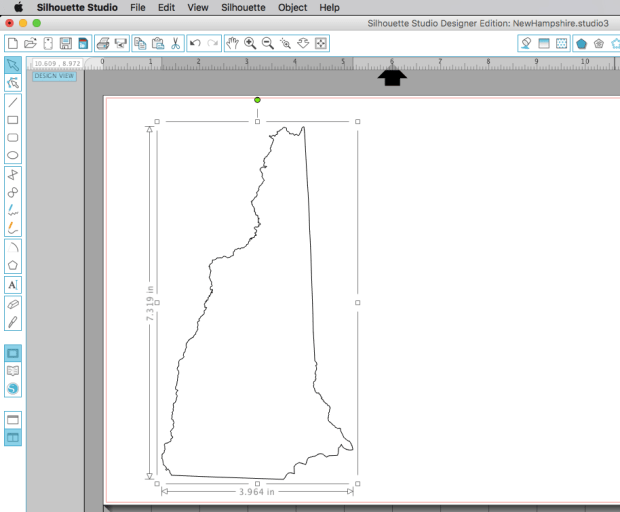
–Silhouette Cameo Vinyl Cutter: I opened the file in Silhouette Studio Designer Edition and then saved the file as a .studio3 file and emailed it to my friend. Took a lot longer to write this than to convert the file for vinyl cutting.

–3D Printer: To 3D print the outline, I would import the SVG into Tinkercad. After sizing the image, I would export the model for 3D printing choosing an STL file as the output option.

–Epilog Laser Cutter: To cut out the outline on the Epiloz Zing laser cutter, I would open the SVG in Illustrator and change the stroke width of the outline to 0.001″ then save the image as a pdf for use on the PC attached to the cutter.
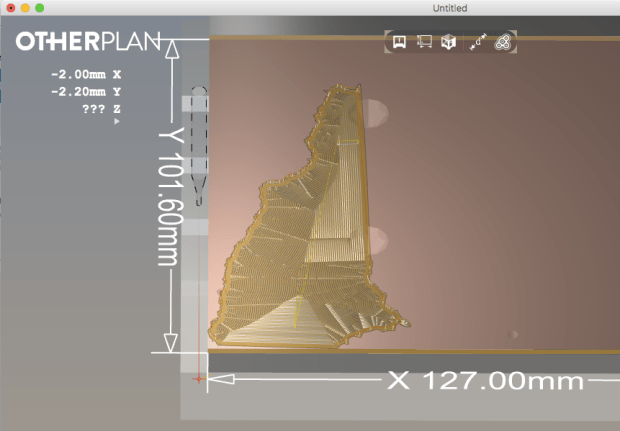
–Othermill CNC: To mill the outline, I would import the SVG into OtherPlan classic and could either engrave or cutout the image.
Hi Josh I am following your posts — thank you for all of your ideas!!!! I teach K-8 technology and am doing a project with 3rd graders that maybe you can give me an idea on. The students drew a picture of a penguin (Mr. Popper’s Penguins) and we are using the iPad app Makerbot Shape Maker to extrude it and then 3D print it on our Makerbot Mini Replicator 3D printer. My question — sometimes shape maker will extrude a shadow as an erroneous shape. It usually is outside of the main shape — so it doesn’t affect the final product, just wastes time and filament with extra printing. Is there any easy to use/free software out there where I could remove the extra shapes from the print bed (or the stl file) so that only the main shape prints? Thanks for all of your work! Donna MPFS, Media PA
Hi Donna!
Thanks for following the blog. For the iPad, I would definitely try out Morphi http://www.morphiapp.com/ You can draw directly in the app so you don’t even have to worry about converting the file. It is a great 3D modeling program for kids (and adults). Otherwise try using a desk lamp or two to eliminate shadows when taking your photos. Try taking photos from straight overhead if possible in an area with diffuse light.
Have a great day.
-Josh