Sharpie to 3D Print in 30 Minutes
Go from Sharpie drawing to 3D print in less than 30 minutes using this quick tutorial. This makes a great demonstration to introduce 3D printing. I have used this process with three different teachers and am impressed that it has worked every time. Teachers walk in wanting to know about 3D printing and leave with a printed copy of their own design.
Outline: Draw a design. Take a picture. Upload the photo. Download a 3D file. Print a 3D copy.
The photos are from the necklace my daughter designed for Mother’s Day.
Design: Use a black Sharpie to draw a simple design on a white index card. Use thick bold lines.
Details: When using a regular Sharpie, try to make lines that are at least 3 marker widths thick. A thick marker will work best to keep from creating thin walls that are harder to print fast. You can use any dark marker on white paper. One color only.
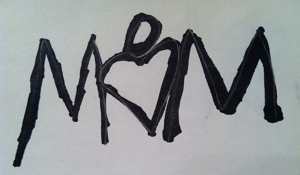
Hand drawn design. Sharpie on index card.
Photo: Take a close up photo of the index card. Capture just the design and the white of the index card. File needs to be saved as a .jpg.
Details: Avoid shadows in the picture. It is quicker to take the photo on an internet connected cell phone or tablet and upload the photo directly from the device.
Upload: -Go to Shapeways.com and login.
-Click Create –> New Product –> Launch 2D to 3D app or go to http://www.shapeways.com/creator/2d_to_3d/
-Step 1: Import a black and white.jpg image. Choose the photo you took of the design.
-Step 2: Make your 3D design. For a quicker print, choose the No Base option but be sure all the lines in the design are touching.
-Give your design a title.
-Click the Make! button.If I were doing this as a demonstration for a group, I would have a partner doing the steps below while I continued my presentation.
Download: It takes a few minutes to convert the file from 2D photo to 3D model. Shapeways will e-mail you a message when your model is ready to 3D print. Click the email link to go to your model. (You could stop here and order a 3D print directly from Shapeways.) Click Download model. The downloaded model will be a zip file. Extract the stl file from the zip file.
This model is available for sale at http://www.shapeways.com/shops/designmaketeach

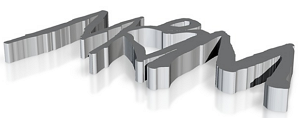
- Shapeways Converted the Design from 2D to 3D
Scale and Repair the STL file: What? The file from Shapeways isn’t quite ready to print. It might print without this step but you will probably have problems with the wrong parts of the model getting filled in. Open the file with netfabb studio basic. Free software from http://www.netfabb.com/basic.php .
-My 3D printer uses mm and the Shapeways files is in inches. To scale it to the right size, Click Part –> Convert Units –> Inches to mm (Scale up by 25.4).
-If parts of the model are red try the following. Click the Repair button–>Actions–>Fix flipped triangles–>Apply repair–>Yes.
-If the whole model turns red, Click Part –> Invert part.
-Save the fixed file (all green with no exclamation point) by clicking on the part then Click Part –>Export Part –>As STL
Details: This may sound like a lot of steps, but it is actually quicker to take the file through netfabb and scale and repair in one step than it is to have problems later and have to come back.
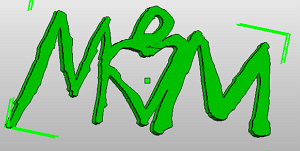
NetFabb Scaled and Repaired the STL File
Print a 3D copy: The software for this step will vary on your 3D printer setup. I have a Printrbot LC and can add the stl file to Repetier-Host. Repetier-Host can use either Slic3r or Skeinforge to slice the STL file and convert it to gcode for printing then print the model. With a little luck, you will have a physical 3D print of a 2D design that was drawn less than 30 minutes earlier.
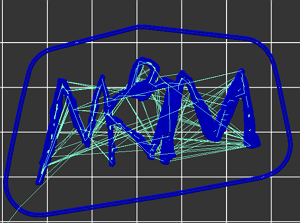
Slic3r created a gcode file that is shown in Repetier-Host, ready for printing.
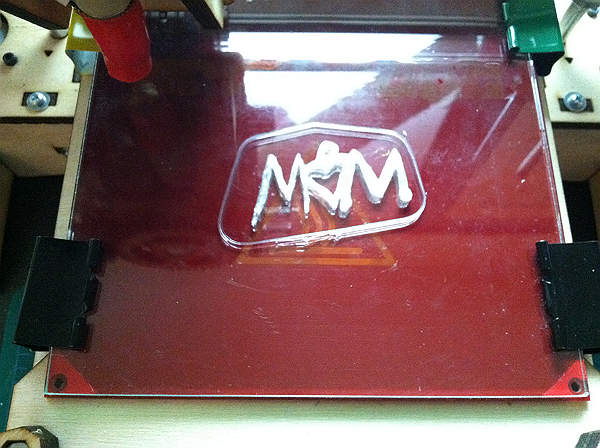
The Completed 3D Print
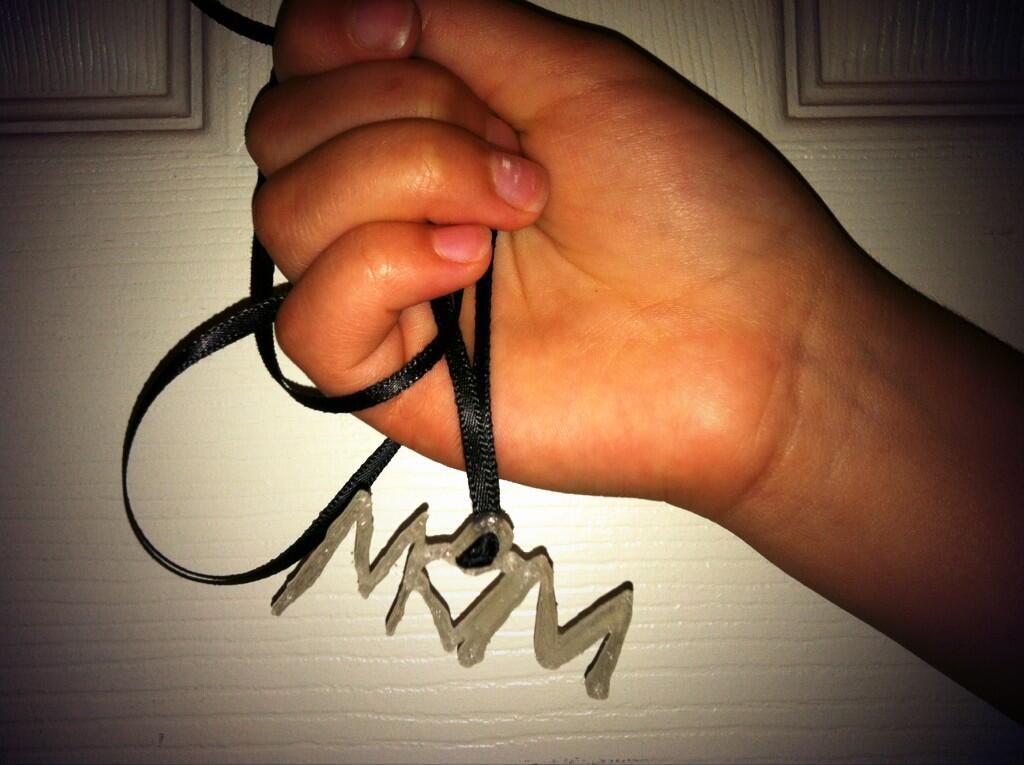
The finished product. “It looks just like my drawing.”
***Update 12/15/13: Laura Taalman, aka @Mathgrrl on Twitter, has a much better method to go from 2D Sharpie drawing to 3D print using Inkscape and Tinkercad. See her tutorial at http://makerhome.blogspot.com/2013/12/day-109-sharpie-print.html .
Kacie Hultgren, @KacieHultgren, aka PrettySmallThings on Thingiverse, says to checkout OmNomNom by Jetty on Thingiverse thingiverse.com/thing:24639
Pingback: Tactile Writing Prompts | Design Make Teach
Just wanted to share our “mash up” of this sharpie to 3D project. To get my 8th grade students to be able to prepare a file for printing, they went through the design process and learned all about filetypes and how to convert/transfer to get the end result. There are photos here: creekdesigntech.blogspot.com